site preparation
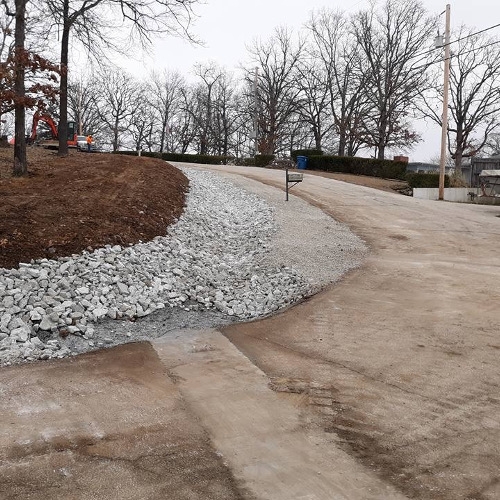
Kirk’s Excavation handles land clearing, grading, and compaction to shape and stabilize terrain. The team performs excavation and erosion control to manage water flow, prevent runoff, and prepare each site for construction with precision and efficiency.
- Land Clearing
- Grading and Leveling
- Excavation and Earthwork
- Soil Compaction
- Erosion Control
Utilities
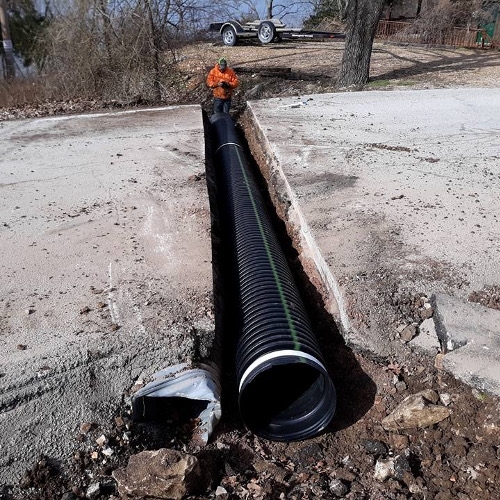
Water, sewer, and gas lines are installed with precision and strict safety standards. Storm drainage and erosion control systems are designed and implemented to keep sites stable and infrastructure running efficiently.
- Water Line Installation
- Sewer Line Installation
- Gas Line Installation
- Storm Drainage Systems
- Erosion Control Systems
Concrete
Concrete services include forming, pouring, and finishing slabs, foundations, and flatwork for commercial and industrial sites. The team also handles roadways, driveways, and structural concrete to deliver durable, high-performance surfaces.
- Concrete Slabs
- Foundations and Footings
- Flatwork and Pads
- Curb and Gutter
- Sidewalks and Walkways
- Driveways and Roadways
- Retaining Walls
- Equipment Pads
- Concrete Demolition
Demolition & Land Clearing
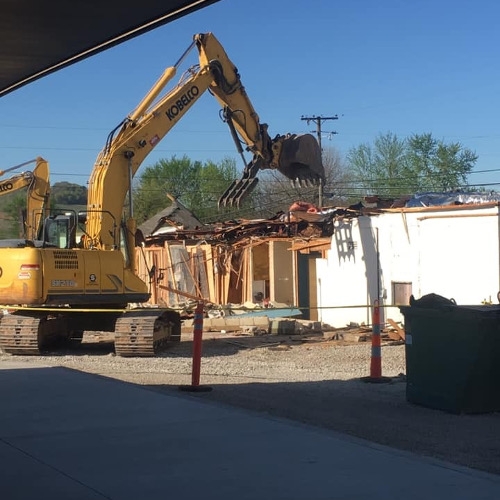
Demolition and land clearing work includes removing old structures, concrete, and vegetation to prepare sites for new construction. Crews handle cleanup, hauling, and grading to create safe, ready-to-build environments.
- Demolition of Buildings and Structures
- Land Clearing for Farms, Subdivisions, and Residential Projects
- Farm-Specific Services Including Poultry Pad Construction and Pond Cleanouts
Consultation & Planning
Understand project scope and goals.
How We Get the Job Done
We follow a streamlined process to ensure efficiency and quality on every project.

Inspection & Handover
Ensure the project meets job requirements.
Permitting & Preparation
Secure approvals and prepare the site.
Execution
Sitework, utilities, grading, excavation, and concrete.
How We Get the Job Done
We follow a streamlined process to ensure efficiency and quality on every project.
Consultation & Planning
Understand project scope and goals.
Permitting & Preparation
Secure approvals and prepare the site.
Execution
Sitework, utilities, grading, excavation, and concrete.
Inspection & Handover
Ensure the project meets job requirements.
Why Our Clients choose Kirk's
When you choose Kirk’s Excavation Inc., you’re partnering with a team that combines experience, integrity, and reliability to deliver lasting results. Safety is a core part of every project, with trained crews, proper equipment, and jobsite practices that protect people and property.
Safety At The Forefront
150 years combined experience
Personalized Service
Scalable for any size project
Quality Key Personnel
Dependablilty
Large Network of Suppliers
Cost-Effective Solutions
Safety At The Forefront
Personalized Service
Quality Key Personnel
Large Network of Suppliers
150 years combined experience
Scalable for any size project
Dependablilty
Cost-Effective Solutions
Clients Who Trust Our Experience


our commitment to safety
Our crews are trained to recognize risks, follow best practices, and maintain a clean, organized job site. Through continuous safety training and attention to detail, we keep every project compliant, efficient, and incident-free.
key commitments to safety
- OSHA-certified team and supervisors on every job
- Comprehensive safety meetings and daily inspections
- Strict adherence to state and federal regulations
- Fully insured and bonded operations
- Modern, well-maintained equipment for safe performance
- Zero-tolerance policy for unsafe practices
- Regular safety audits and continuous improvement programs
- Focus on protecting people, property, and the environment
FREQUENTLY ASKED QUESTIONS
A.
We manage a wide range of projects including commercial, industrial, and farm work. Our team handles everything from small grading jobs to large-scale site development involving excavation, utilities, and concrete work.
A.
Yes. While most of our work is commercial and industrial, we also take on select residential and agricultural projects such as driveways, ponds, and land clearing.
A.
Safety is part of every step we take. Our crews follow OSHA standards, conduct regular inspections, and use well-maintained equipment to ensure a safe working environment for both our team and clients.
A.
Yes. We have the equipment, experience, and network of subcontractors to manage complex, multi-phase jobs. Our largest projects have exceeded several million dollars in scope.
A.
We assist clients with conceptual design and site planning to identify the best approach before construction starts. This helps keep projects efficient, accurate, and within budget.
A.
We plan around weather as much as possible and adjust schedules to keep work on track. Our team communicates with clients early and often to minimize downtime and maintain steady progress once conditions improve.
Building Trust, One Project at a Time
Ready to Discuss a Project?
Let’s talk about your site needs and how our team can help you get the job done right.


